So, screenshots on the Mac have been what for me is broken for a long time.
What I mean by “broken” in this case is “expected functionality not happening” – the key commands are very useful for capturing the entire screen or the front screen or a draggable area BUT for some inexplicable reason the .png files that are created are not treated like “regular” files by the OS.
Specifically, you can’t choose/create a folder for a screenshot; you can change the default folder, normally the desktop, but you cannot specify, on a screenshot-by-screenshot basis, where to put what seem to be “normal” .png files. Once the file is created and saved to the default folder you can manipulate it normally in the finder which makes this evermuchmoreso inexplicable.
(Also, once taken, you have to do something really quickly with the screenshot, not including renaming it which does not seem possible) or it will quickly disappear/save to the default folder and have to be hunted down.)
So this will be one of:
A. I’m wrong and just don’t know how to do it.
B. I’m right and there’s an easy fix.
C. I’m right and it isn’t easy to fix for a reason I won’t understand.
D. I’m right and there are one (or many) 3rd party apps that address the obvious lack, sort of like there are many 3rd party calculators to address the deranged lack of one on the iPad…
If you’re after a way to check what you’ve screenshot and decide where to save it, you could try the following:
Bring up Screenshot using Shift-Cmd-5,
Clicking on Options and selecting Preview as the destination,
Picking your screenshot method, select what you want to capture, and press Return,
Preview opens with the screenshot, you can then do further editing and choose where to save it to.
I must admit, it has been a while since I poked around with Screenshot’s options, I don’t recall if Preview has been in there as a destination from the beginning or is a more recent addition.
IIRC in Big Sur, Apple introduced what I consider an annoying and completely unnecessary intermediate step where the screenshot like on iOS gets put in a ‘drawer’ of sorts where you’re expected to edit and then have to save instead of just saving to disk right away like it used to. Fortunately, TinkerTool allows the old straight save to disk with one click.
Interesting. I only recently upgraded to Big Sur, so hadn’t noticed that behaviour. I tried just now, and while there was a little “drawer” thingie on the bottom right of my screen, I ignored it, and the screenshot I created ended up on my desktop like it always had. So maybe Apple fixed that in a later edition of Big Sur and early adopters didn’t notice because they had used TinkerTool or other means to alter the intermediate step (emulating iOS)?
It was like that from the beginning of Big Sur. Basically it’s the same behavior as iOS screenshots: the screenshot shows up in a small window for a short period of time, giving you the ability to tap/click to edit it right away, wait a few seconds for the window to slide away, or you can even (on the Mac) two-finger swipe the image window to the right (just a one-finger swipe on iOS or iPadOS) to make it disappear right away.
I prefer this behavior myself, as I occasionally want to edit a screenshot and before that required finding the screenshot on the desktop (or whatever you changed the default to) and open it in Preview/some other app.
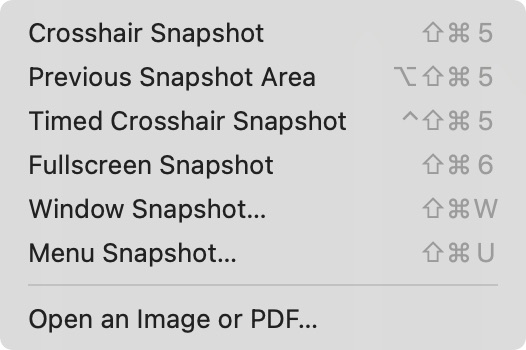
Ah…found it…Command Shift 5 to get to the options panel and then uncheck Show Floating Thumbnail…then it goes directly to wherever you set as the default location there. Everything from Command Shift 3 to 6 has different options and you can also capture a pulled down menu with 4 and then space bar.
6?? Is that something new in Monterey? Or do you have an app installed that extends the service?
I’m running Big Sur and there CMD-SHIFT-6 does nothing. I’ve got 3 (whole screen), 4 (select region or window) and 5 (lots of options to choose from), but no 6.
Update. I just ran across this article that says CMD-SHIFT-6 is to screen-capture the touch bar. A feature that (obviously) requires a Mac that has a touch bar (not the case with my Mac mini or MacBook Air).
Some (very) old screen capture tips here: http://www.vdrsyd.com/aoaug/mac_osx.html#Screen_Snapshots
Some might still work. For example, I still use my Applescript app Snap2GC.Scpt (item2 on above link) for taking a partial screen capture and pasting it into a new image in Graphic Converter (works under Mojave - I am guessing more recent macOS will break it). The app icon is in the dock so it is just a click and the crosshairs appear.
So, @AlanRalph has immediately demonstrated (MANY thanks!) that the answer to my original inquiry was decidedly:
A. I’m wrong and just don’t know how to do it.
I was completely unaware that this worked with Shift-Cmd-5! I do wish that we could manage the file after immediate capture using Shift-Cmd-3 or 4 though.
Incremental value has continued to accrue, I am glad to say, in this lively discussion: TidBits FTW!!
Easy and low priced ($15) fix = Sharpshooter. It will save in any one of 5 selected formats of your choosing; allow you to rename the screenshot on the fly; its prefs sits in your menu bar; allows to save in a designated folder of your choosing; automatic saving; saves favorite folders; and allow direct sharing. It seems like it has been around forever and currently working flawlessly with Big Sur. No extra keyboard shortcuts to remember as it integrates seamlessly with the Mac screenshot keys. It is Mac screenshots on steroids. It is only safely available from the developer’s website and not from the Apple App Store. I have used it for at least 5-10 years and can highly recommend it. It is what Apple screenshots should have been.
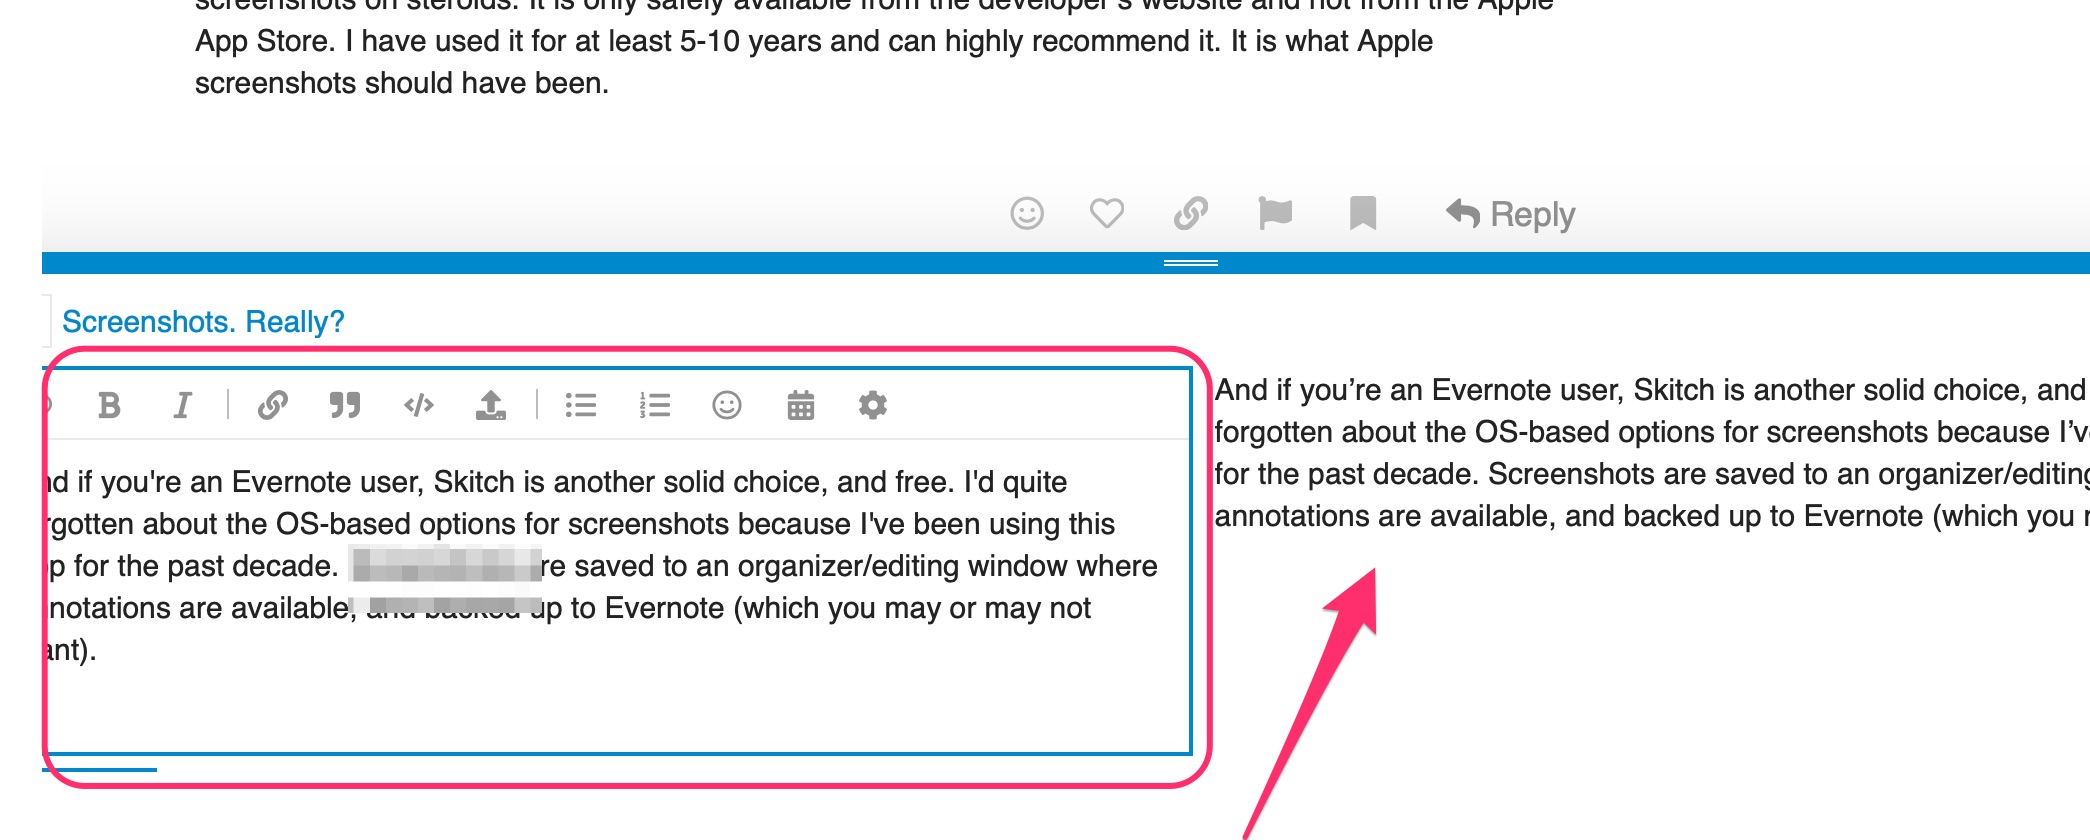
And if you’re an Evernote user, Skitch is another solid choice, and free. I’d quite forgotten about the OS-based options for screenshots because I’ve been using this app for the past decade. Screenshots are saved to an organizer/editing window where annotations are available, and backed up to Evernote (which you may or may not want).
It handles timed screenshots and menu screenshots as well, and has a little tab gizmo to drag and drop a screenshot to, say, a Discourse text editing box.
I’m with @jweil on this: there are better, low- or no-cost options out there, as there often are with MacOS built-in features. My first screenshots were on a Mac SE, and to me they’ve always been an essential tool. For built-ins like this, Apple continues to excel at providing a basic, model implementation of a feature that can be taken in many different directions by third-party developers.
I’m a very frequent screenshotter, people ask me how to do things, I take screens, paste into email, add an arrow or so with markup functions and I’m done.
CMD-SHIFT-4 to select the area, but I press CTRL before I release mouse/trackpad, this brings the screenshot to clipboard, not a file. That’s all I need.
From this thread I just learned about options under CMD-SHIFT-5. Good to know.
My favourite screen shot option is Shift Command 4, then press the space bar, which enables you to capture a complete window complete with neat drop shadow - perfect for documentation etc…
Shift-Command-5 provides selection of the Apple provided possibilities as well as settings for the format and destination. It’s the only one you need to remember. See this Apple Support Page for details of all the options.
By the way, there is also an option to create a screenshot video with microphone input and mouse clicks via QuickTIme Player. This is handy if you want to create a narrated video of a process. The final product is quite large in .mov format. Using VLC, I was able to convert it to an MP4 file with a 90% reduction in size.
As of Catalina, Apple’s Screenshot.app is in the Utilities folder in Applications so it can be dragged to the dock and activated frrom there. I activate it with Launchbar using “SS”. I have the options set to open the screenshot in Preview.